Getting Started
The following video demonstrates how to create an application from the dashboard and then to deploy and update it using Wakanda Studio.
Creating your first application
Once you are connected to the dashboard, click on the New Application button to open the application creation wizard.

Start by choosing an application type from the suggestions. In our example, we will be creating a free application. To proceed, click on the Free application button.

By default, your application will be created in the US. If you prefer a different region, you can select it from the list.

Note
As of the moment, only the US region is available
Choose a valid application name:

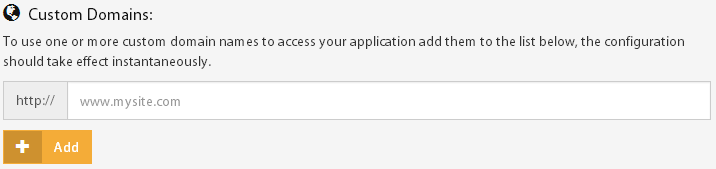
Optionally, you can add custom domains to your application’s configuration.
In the next step, you are invited to provide your user’s information

Note
Before proceeding to the next step, all the required fields must be filled. The required fields are: - Personal information: first name and last name - Billing information: address, country and zip code
Before creating your application, you must agree to our terms of service and then click on the save button.

Publishing & updating your application
Publishing your code the first time is the same as updating an already deployed application. All you need to do is push your code to your application’s remote repository, which can be done using Wakanda Studio, Git Command Line, or any IDE that supports Git Smart HTTP.
Application remote repository
You can get your application’s remote repository URL in the app’s git repository section.

Using Wakanda Studio
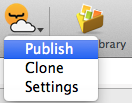
Once you have opened your solution in Wakanda Studio, click on the Cloud button in the toolbar and select the Publish menu item.
Fill in your Wakanda Cloud login information and click Login. If you want Wakanda Studio to remember your credentials, check the Remember me checkbox.
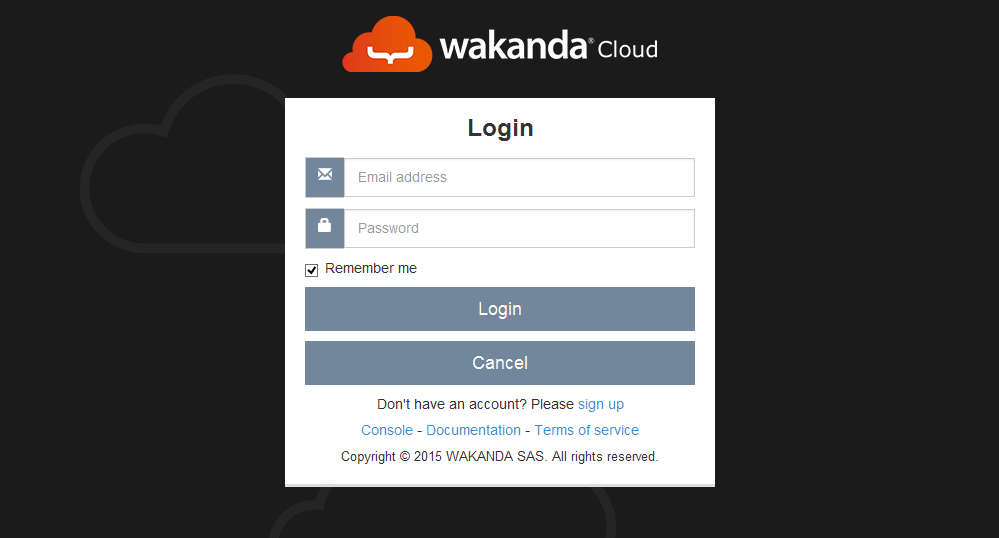
Note
If you check the Remember me checkbox, your credentials will be saved as plain text in the Wakanda Cloud’s preferences.
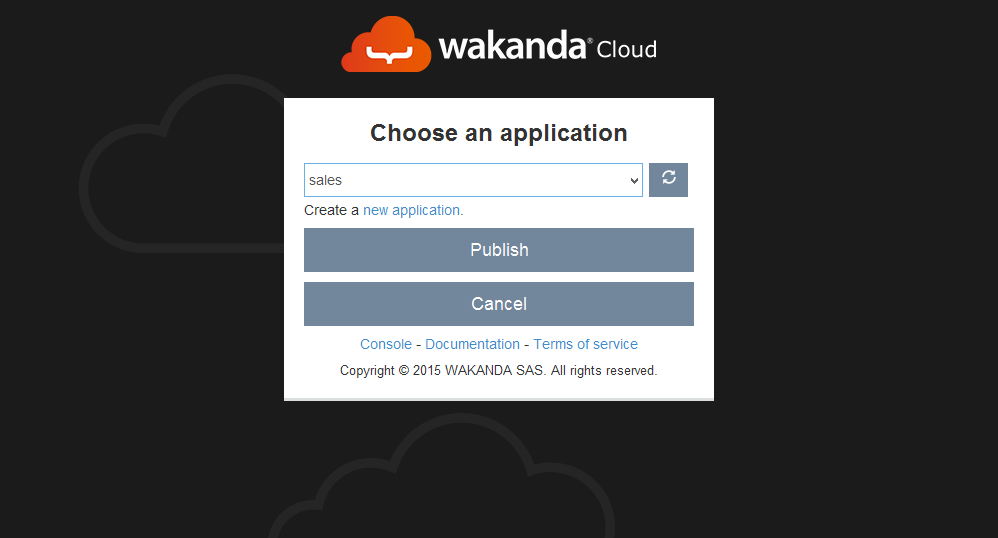
If this is your first deployment, you will need to associate a domain name to your application.
If the operation was successful, you will receive details about the update. Otherwise, you will receive a message explaining any errors that occurred.

Using the command line
Push your application to the remote repository by using the following command
$ git push https://[my-application-name].us-git.wak-apps.com master
Note
If your local repository is using a branch name other than master, you must use the following command to push your application to the remote repository
$ git push https://[my-application-name].us-git.wak-apps.com [local-branch-name]:master